Dearest Readers,
Hello and welcome back into my kitchen for some cozy cooking 🙂 I’ve missed you! And hope you’ve all been well over the summer.
I recently found myself perusing a used bookstore looking for Christmas gifts and found a 1971 edition of Mastering the Art of French Cooking by Julia Child, Simone Beck, and Louisette Bertholle. It was a beautiful two-volume set and had all the vintage and pastel charm you’d expect. Merry Christmas… to me? So of course I bought it! And of course I made her famous boeuf bourguignon. And of course I had Julie & Julia flashbacks the whole time. Bon Appetite!
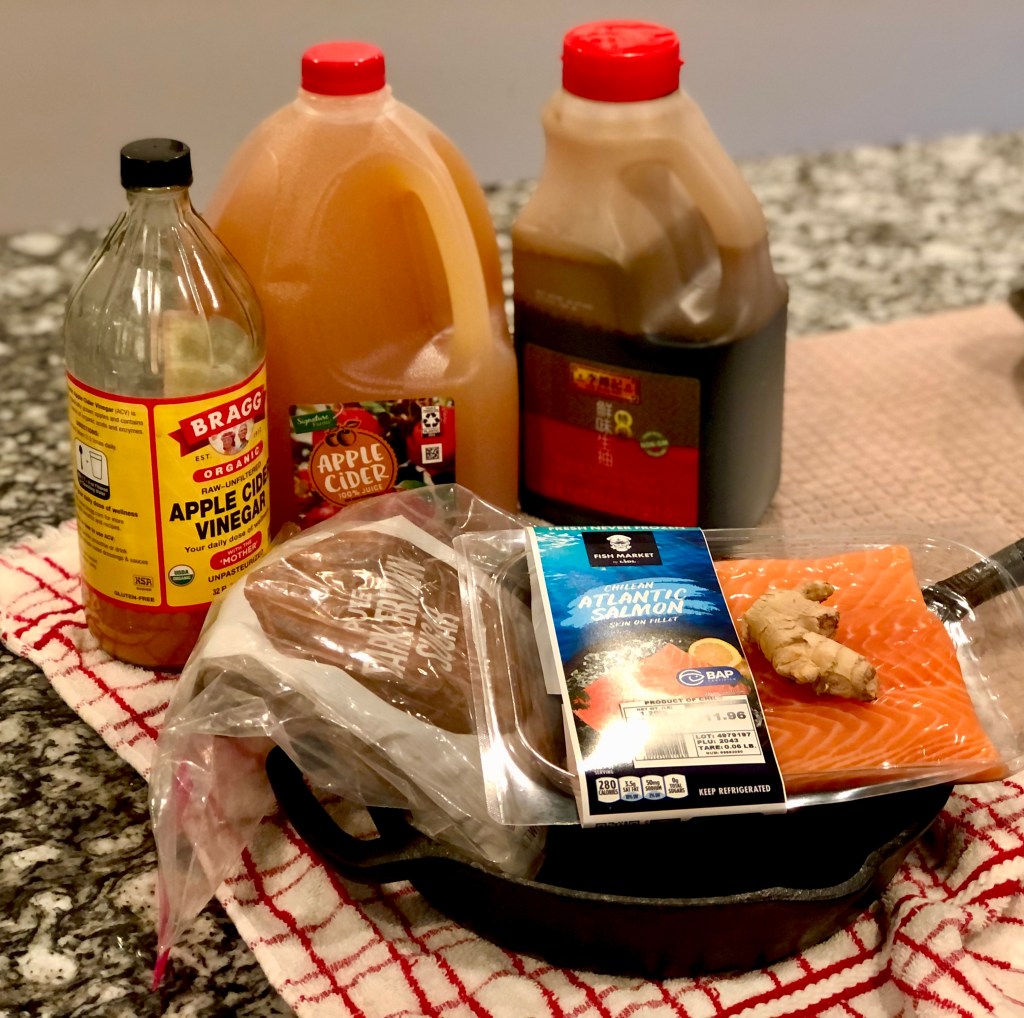
At first glance, this recipe seemed pretty straightforward. In true Julie Powell fashion, I dived straight in with unbridled optimism. For the occasion I decided to look for a good butcher in our area, and I did eventually find one in a small town about twenty minutes away that also sold wine. I came back that day with 3 LBS of quality lean stew meat and two bottles of Bordeaux. Below are some of the other ingredients that I used:

As you can see, there’s a big chunk of bacon; this is homemade bacon that my husband Alex cured and smoked, and it was such a great addition. Looking back, the one piece of advice I have (that Julia Child also had, I guess) is: don’t be afraid! You’ll be chucking things into boiling hot oil, and yes, it will spray everywhere. By the end of the recipe, I promise you won’t care anymore. You’ll be f e a r l e s s .
This recipe has plenty of steps and takes 4+ hours to complete. I recommend either making it the day before (it reheats really, really well) or making sure you have a good day ahead of you to prepare this. To start, cut your bacon into lardons or matchsticks. Boil them for ten minutes, remove, pat dry, and then briefly sauté in a dutch oven. Put the bacon to the side. Preheat your oven to 450 degrees!

After that, brown your beef on all sides. Remember to keep the temperature medium-high, so the meat browns quickly. One you’re done, add it to the bacon on the side.
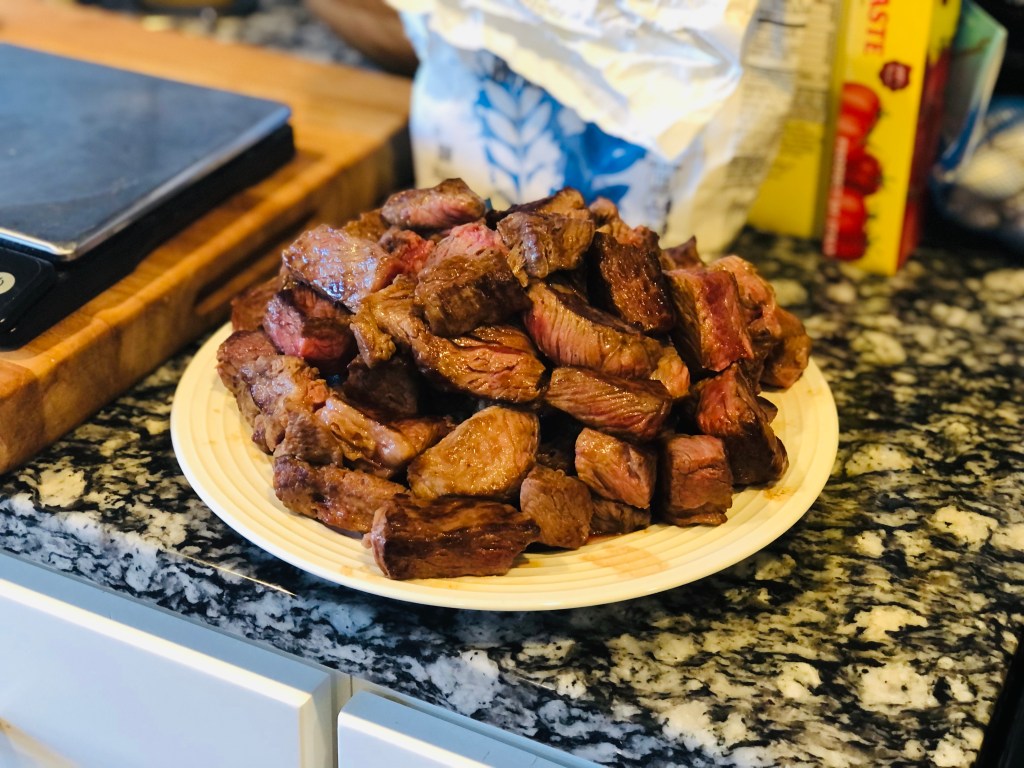
Yep, it’s a lot of meat. This recipe serves 4-6 people so it’s perfect for a special dinner with family or friends. Once the meat is browned, sauté some onion and carrots in that same fat. If you need to add some oil, go ahead and do so.
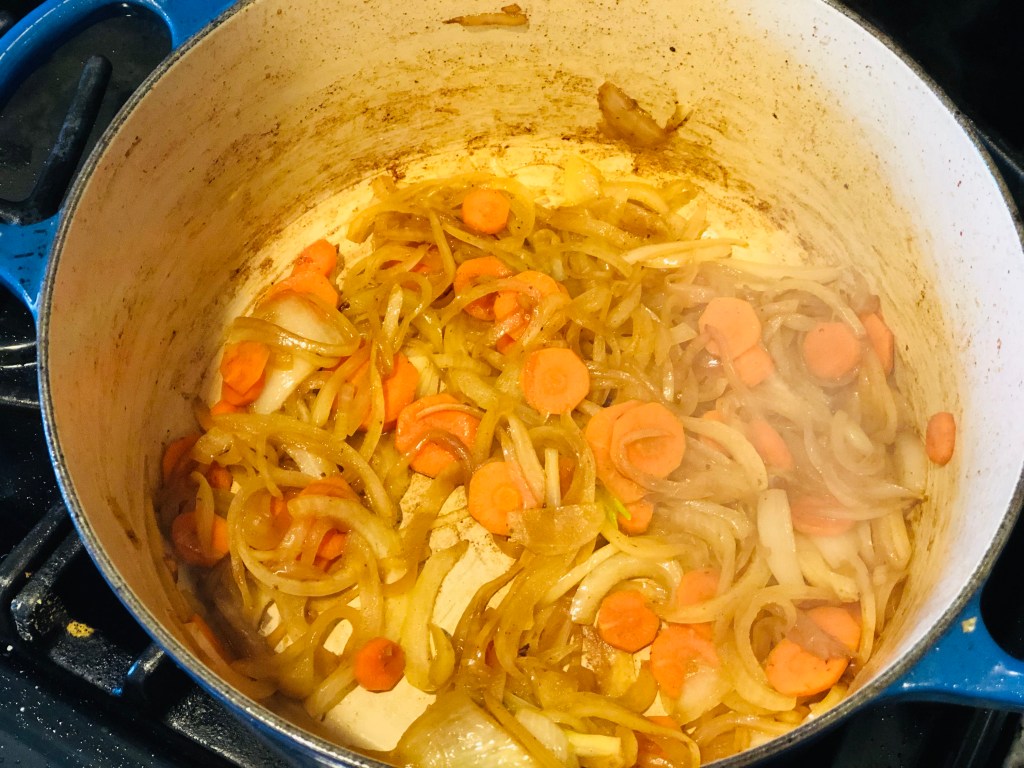
Once the vegetables are sufficiently browned, return the meat and bacon into the dutch oven. Sprinkle in some seasoning (salt, pepper) and some flour, and then toss gently. To get a little delicious crust around the contents, place in the oven for 4 minutes, toss gently again, and put back in oven for another 4 minutes. Remove dutch oven and lower the temperature.
Now for the fun part! Add a whole bottle of full bodied red wine (it can be a Beaujolais, Bordeaux or Burgundy), and top that off with with some beef stock until the beef is covered. Throw in some tomato paste, garlic, thyme, and bay leaf, stir, and put back in oven for 3-4 hours.

In the meantime, you’re going to prepare 1 LB of mushrooms and 20~ small white onions.

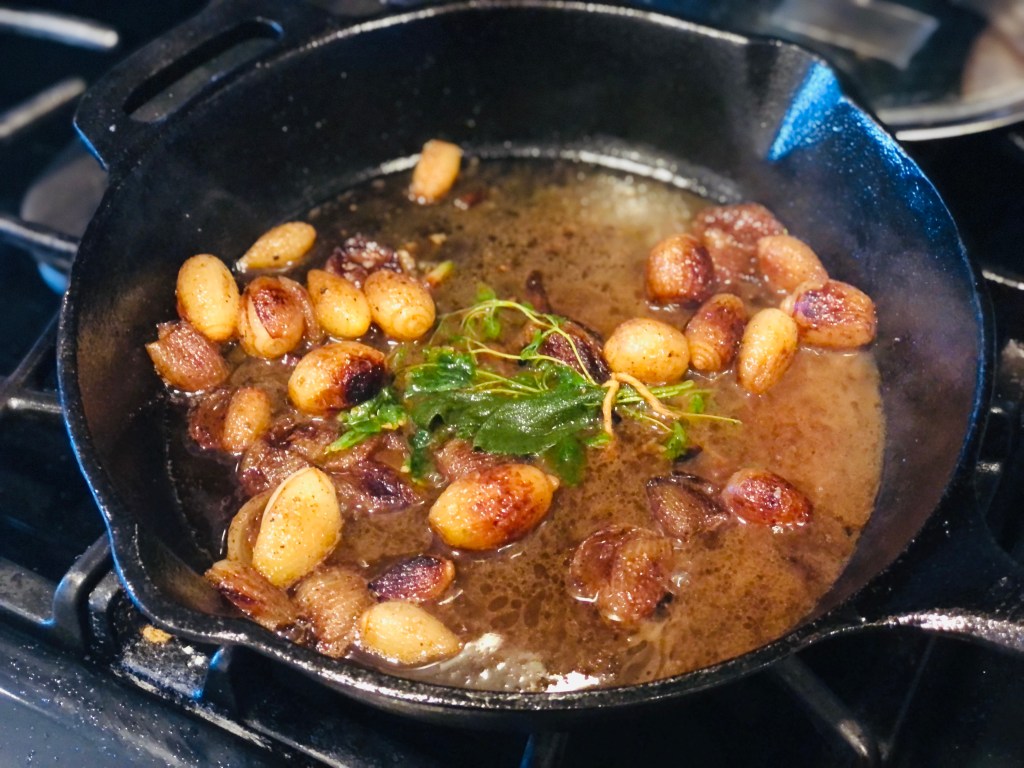
I recommend starting with the onions. While the recipe mentions an enameled skillet, you can also do this in a cast iron. Add butter and oil to the pan, let that heat up well, and then toss in the white onions. Roll them around for 10 minutes, until they get brown on all sides. At this point, pour in some stock and add an herb bouquet (parsley, sage, thyme), cover, and let simmer for an hour at low heat. The result is delightfully sweet, caramelized onions that you will tempted to eat… like me 🙂 I ended up sneaking a few.
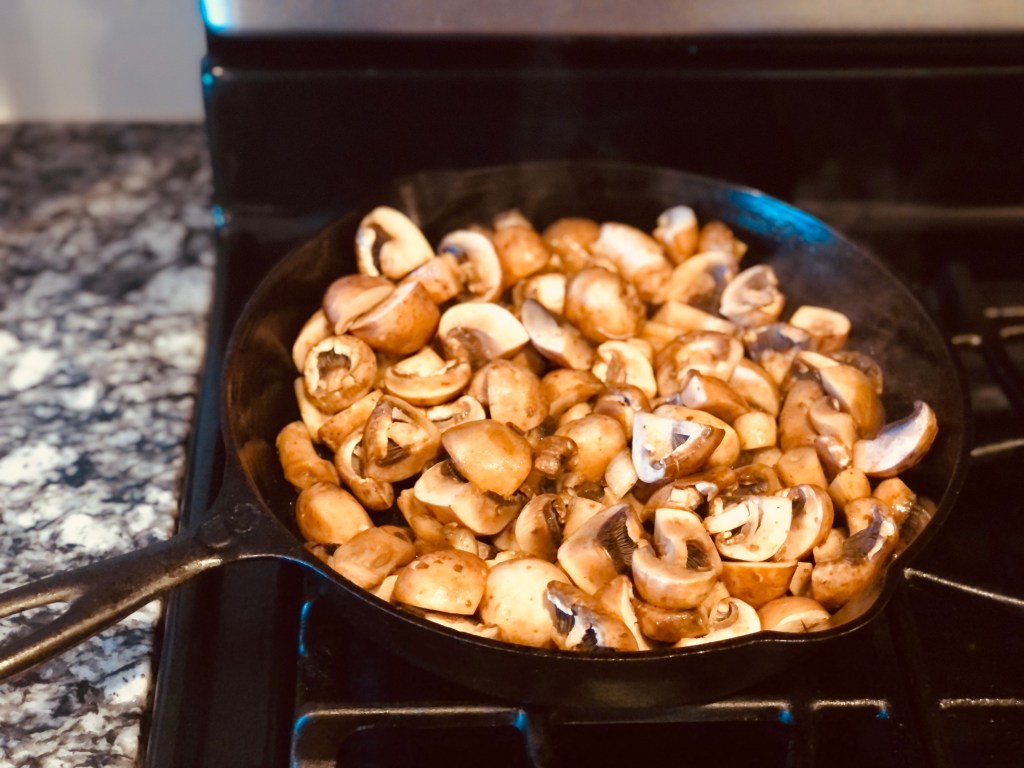
While the onions cook, start the mushrooms. In a cast iron, add butter and oil, and toss your mushrooms until they release all their moisture and start to brown.
Once the meat is done, pour the contents through a sieve over a saucepan. I separated the meat (which I put back into the dutch oven with the mushrooms and onions) from the sauces.

I let the sauce simmer a little bit, while skimming off the fat.
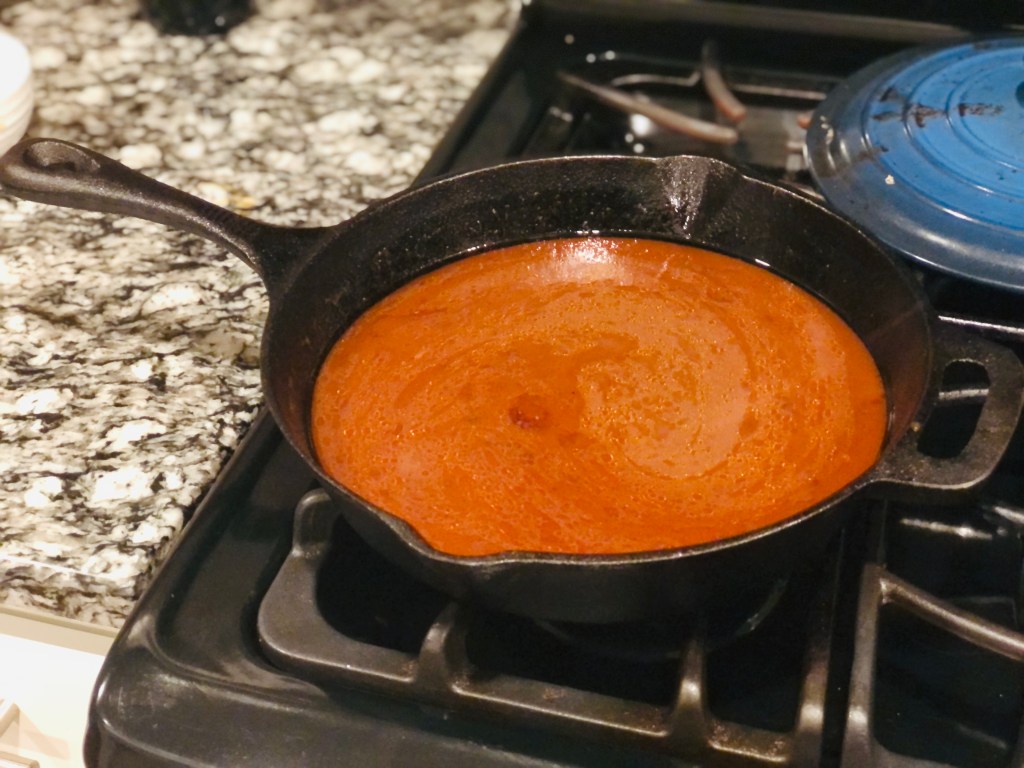
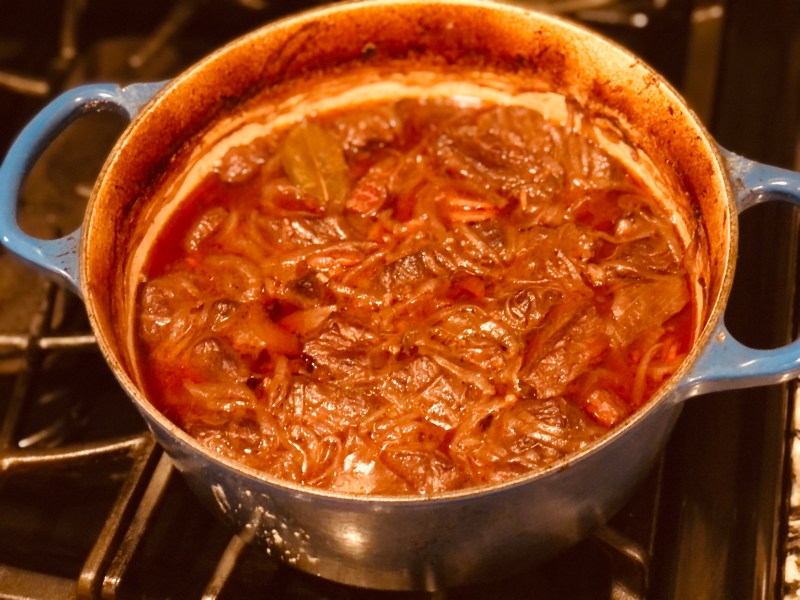
That looks so delicious! At this point, taste for seasoning and then pour over meat and vegetables.

And there you have it, 4 hours later!
You can serve this with egg noodles, potatoes or rice. It ended up tasting rich, warm, dense, and opulent and was very much appreciated by our friends (who went back for seconds). I’m glad I got to test the famous Beef Bourguignon! It’s also the perfect dish for a cold night in November, and can be great for meal prep as well. My final thoughts on it are that next time I’ll probably opt for some short cuts and use a crock pot, because it was truly a laborious dish.
Well dear friends, I hope you have a fulfilling and delicious weekend ahead! Till next time.