Squashin’ It: Cozy Fall Ravioli

Dearest Readers,

Welcome back into my cozy kitchen! I hope you’ve all been well (and safe, especially) and that you’re finding time to enjoy the new season. I’m thrilled Summer is over and “sweater weather” can now commence as the colder temperatures roll in. As you might have guessed, I’m NOT a hot weather girlie. I’m more of a clouds, rain, and misty forest bog lady.

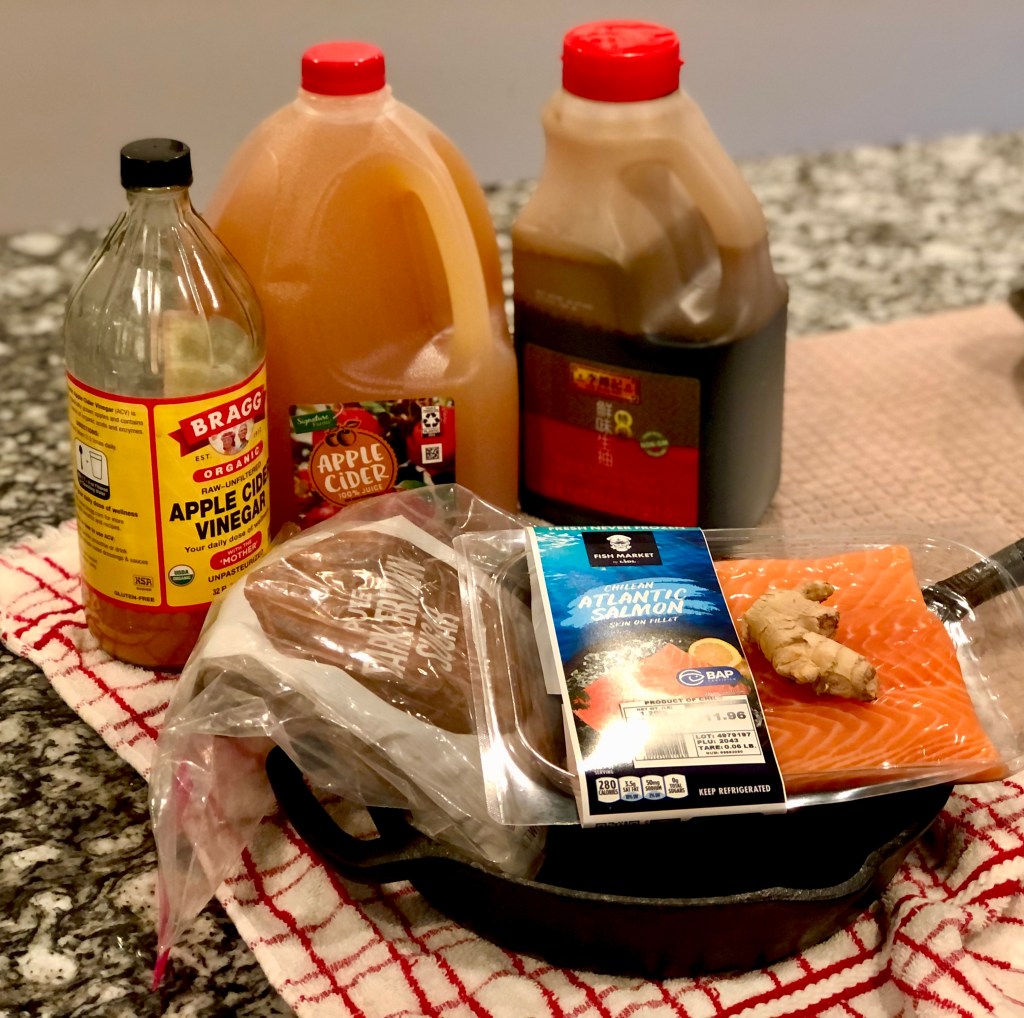
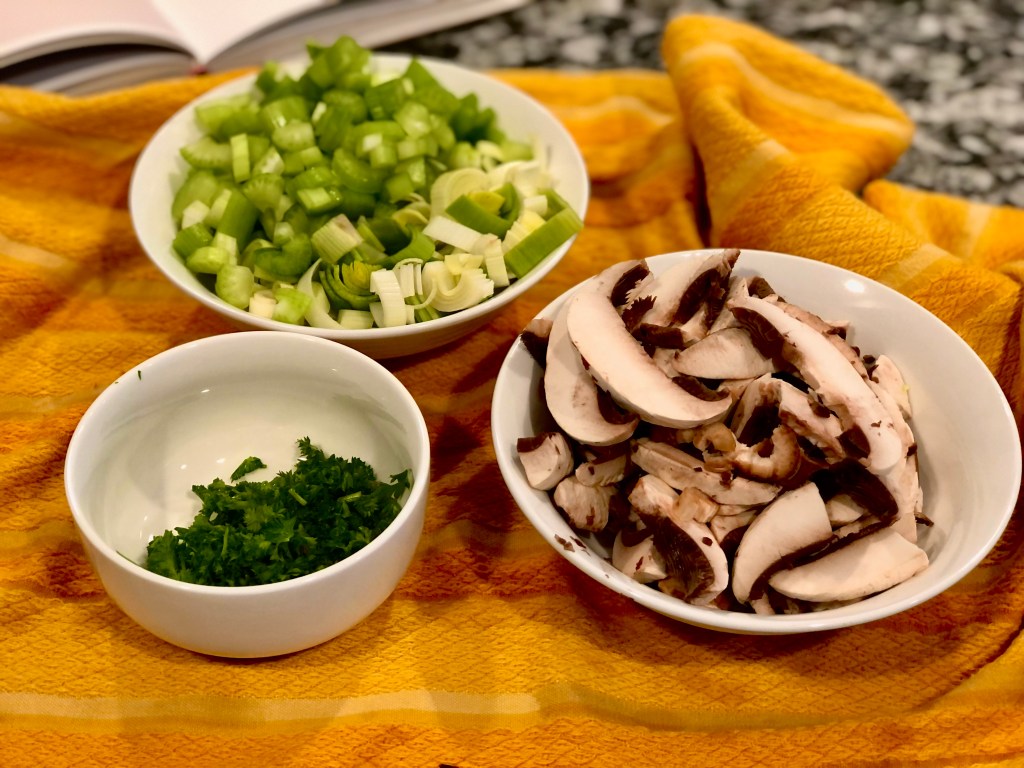
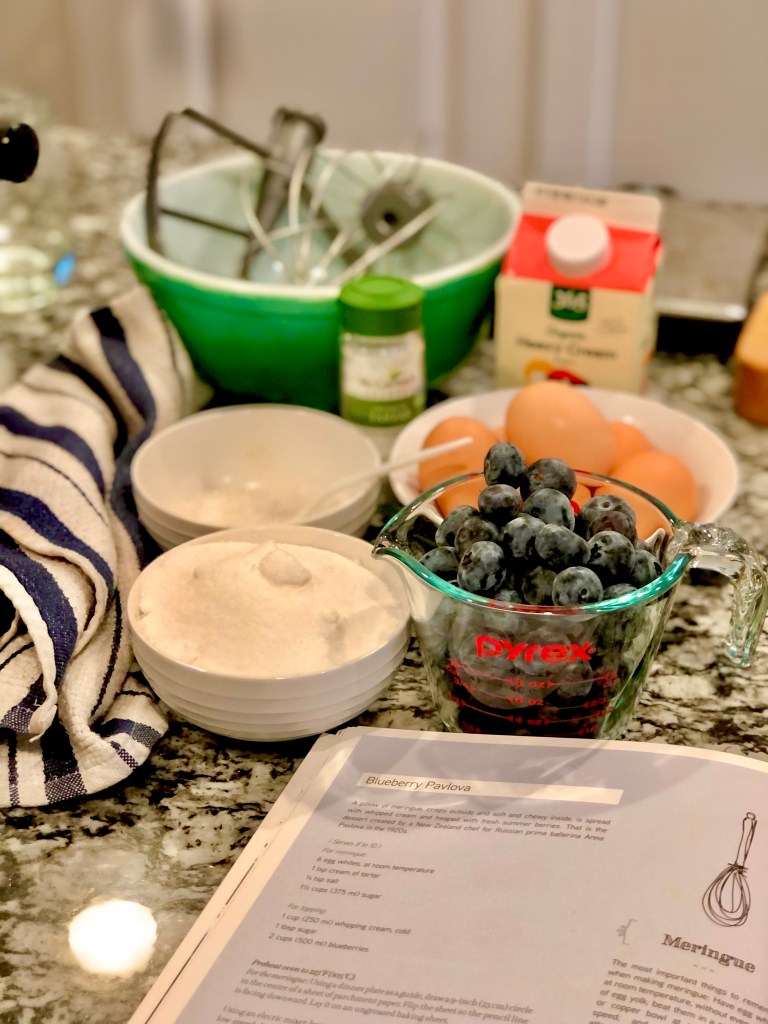
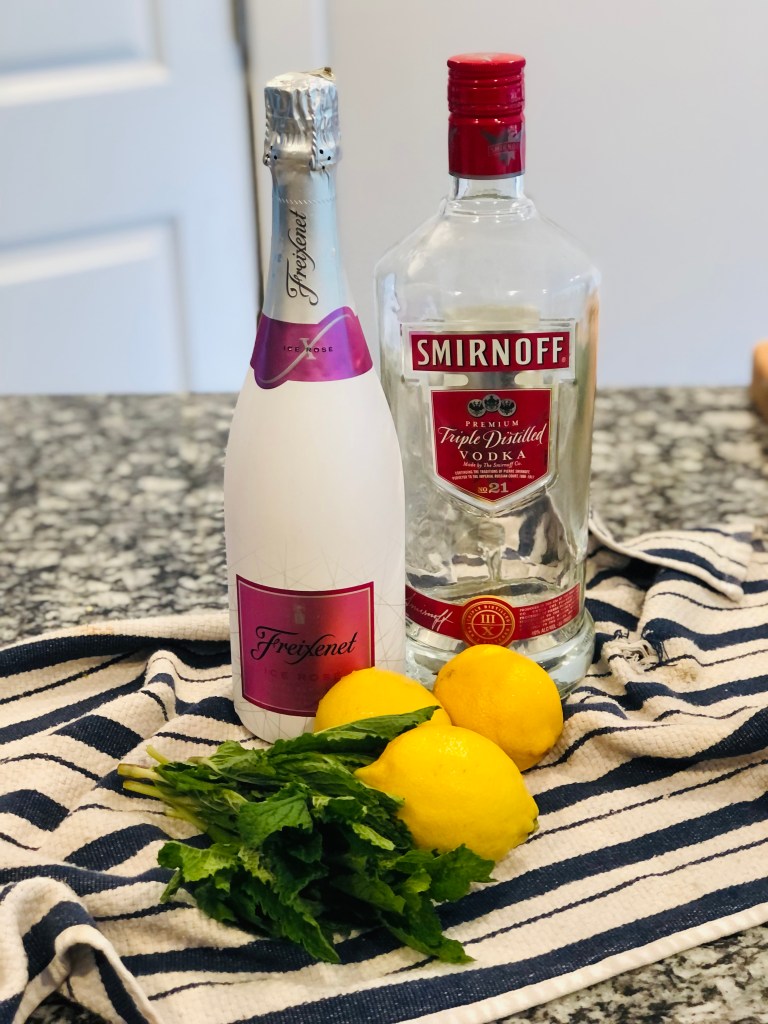
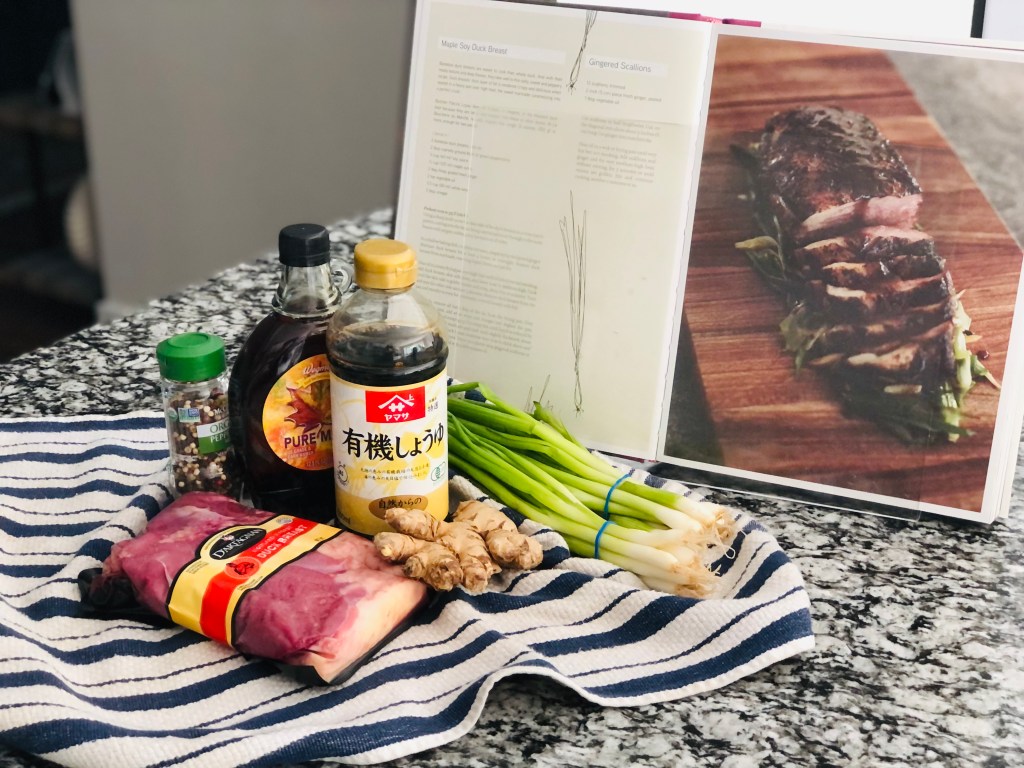
We just settled into a new home and a new job, and while all of that has been quite disorienting, taking the time to cook a comforting meal has worked wonders in soothing my worries and stress. This recipe is honestly right off the cuff, minus the dough recipe which I will link below. Butternut squash is the quintessential Fall ingredient, and I really wanted to lean into its sweetness by pairing it with mushrooms and pork sausage. Obviously, I think this dish would taste great even without pork for my vegetarian readers. The key, primarily, was honoring the butternut’s natural sweetness and nuttiness and the good news is anything can be ravioli. So, if you want to recreate this recipe I encourage you to let creativity and taste buds take the wheel ❤️ These are the main ingredients I used:

As you can see, our new kitchen has very little counter space. Frustrating and makes me want to scream, but it teaches me hard lessons like being better at planning.

🌈🦄positive thinking🦄🌈

While I cubed up one whole butternut squash, I preheated the oven to 400 degrees. The plan was to let it get as caramelized, crunchy, and sweet as it can possibly get. Once cubed, I placed it all on a baking sheet and added 2-3 Tbs of water and 1 Tbs of olive oil. I let it bake for about 30 minutes, and then tossed them in about 1 Tbs of honey. This would facilitate caramelization. Afterwards, I let it broil on low for another 15 minutes.

Mind you, these times will vary based on the temperament of your oven. Each one is different! So keep your eyes on it especially while it’s broiling.

And Voilà. You can definitely get them crunchier, but this is where I decided to stop. After cooling, I added the butternut to the blender with about 1/2 cup of cubed Gruyère cheese, a pinch of salt and a pinch of coriander (in the absence of nutmeg). This really brought out the flavors I wanted. The filling ended up tasting sweet, smooth, and nutty, but at the same time a little tangy and savory because of the cheese. Perfection.

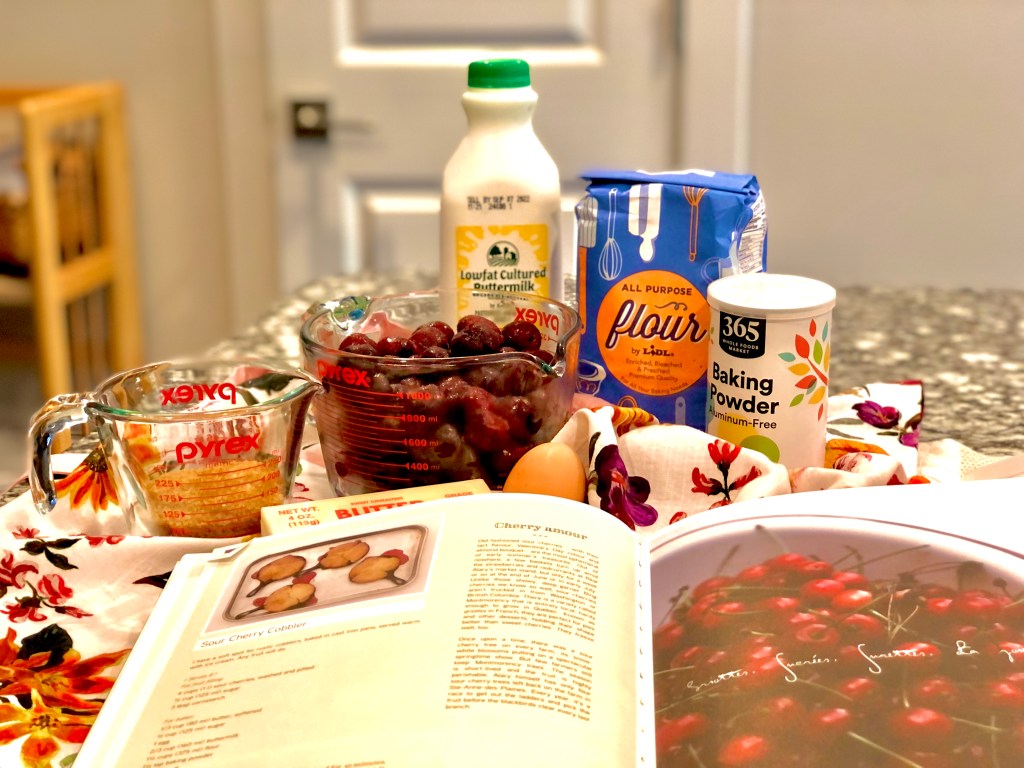
The next part was my least and favorite. I know that’s a contradiction, but just… bear with me. The pasta dough. The recipe I used is the following from the Food Network:

https://www.foodnetwork.com/recipes/tyler-florence/ravioli-dough-recipe-1938192

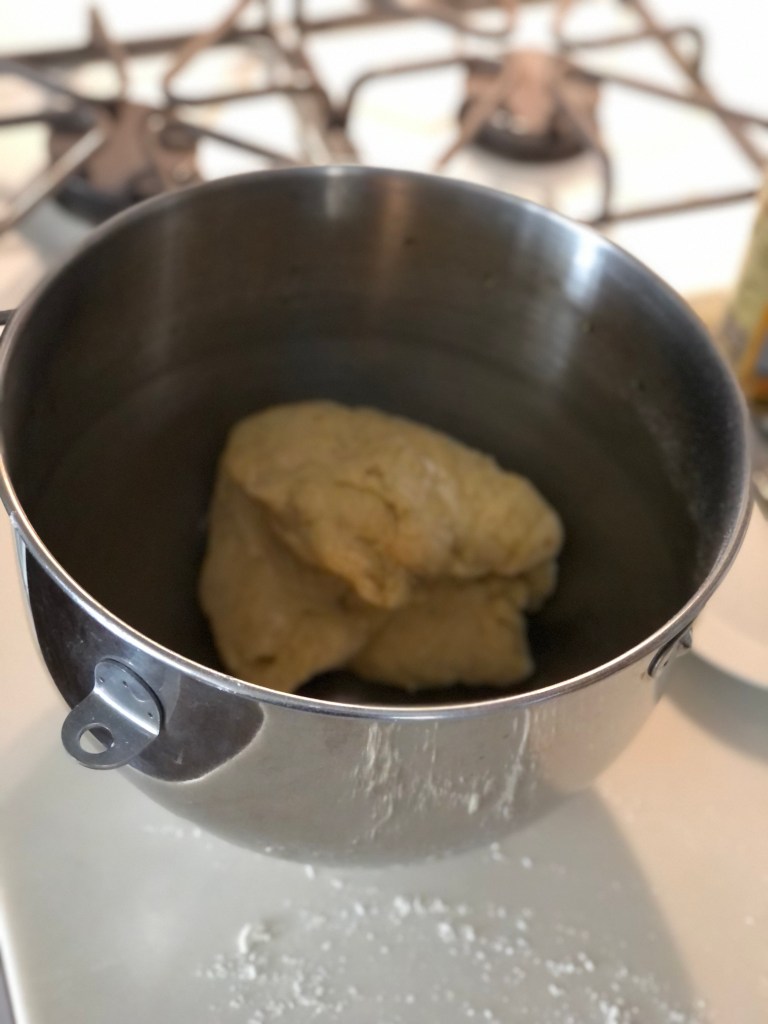
I added flour, eggs, and salt to mixer on medium low. As that was blending, I added a thin line of olive oil until the dough formed into clean a ball like so:

Now, this is the part I like the least- the kneading- as you “knead” some upper body strength for this one. Lol, I’m hilarious.

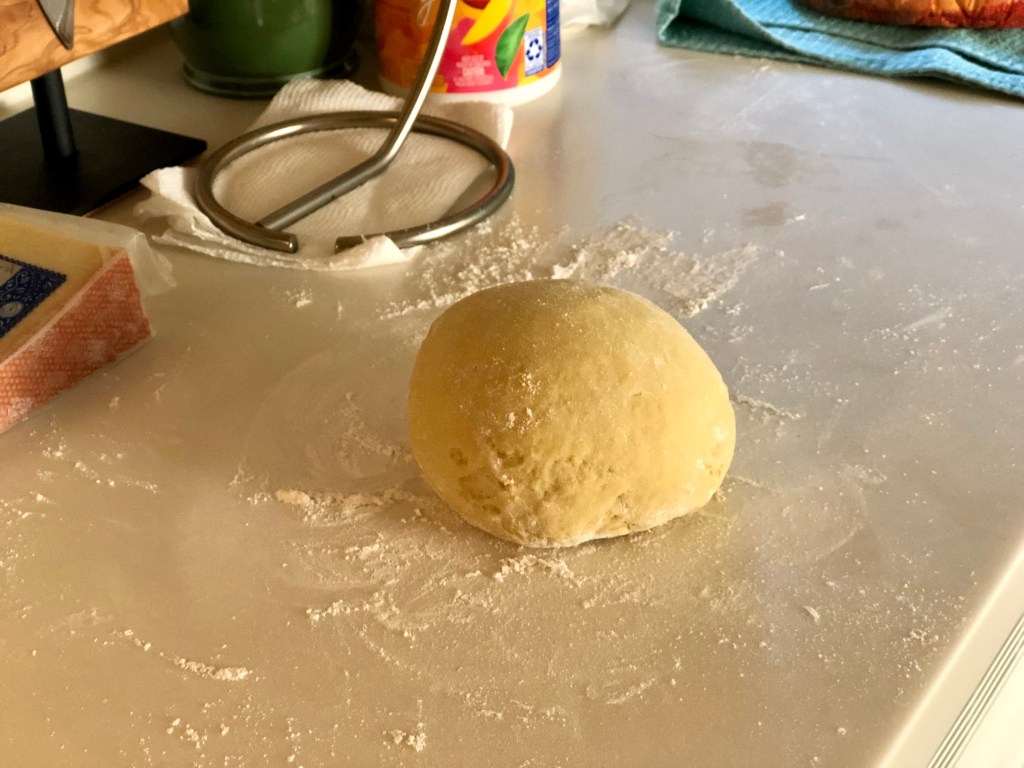
But seriously, knead the dough for about 10-15 minutes until it is smooth and elastic. This will build up gluten and allow for the dough to stretch. My ball looked like this:

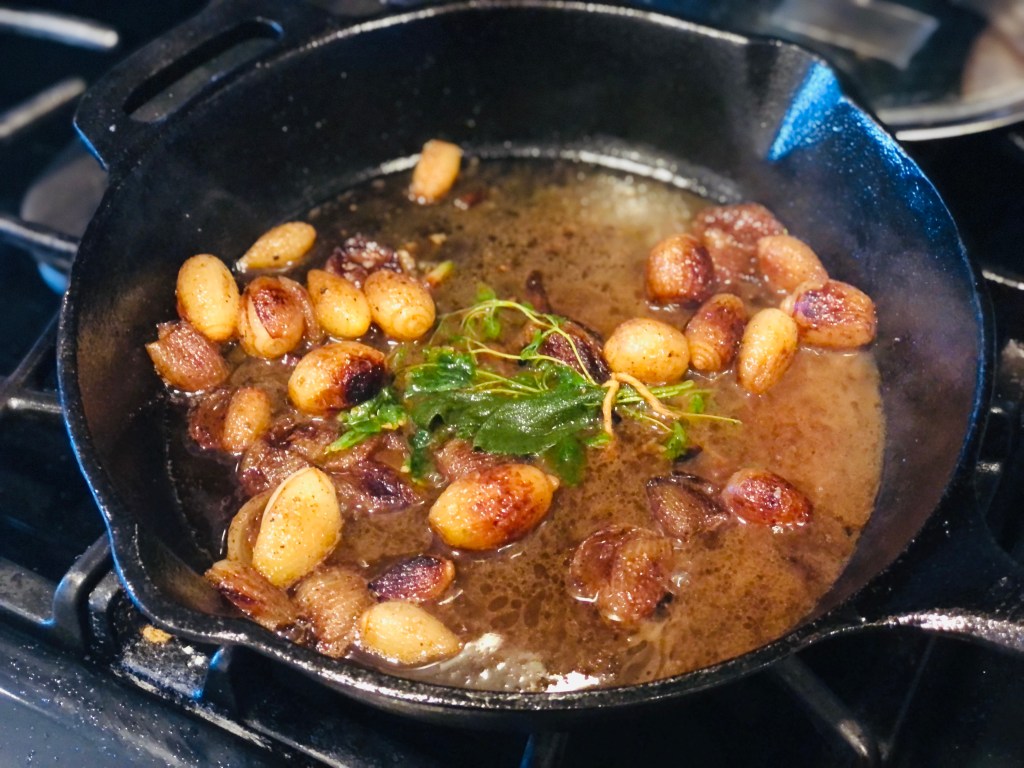
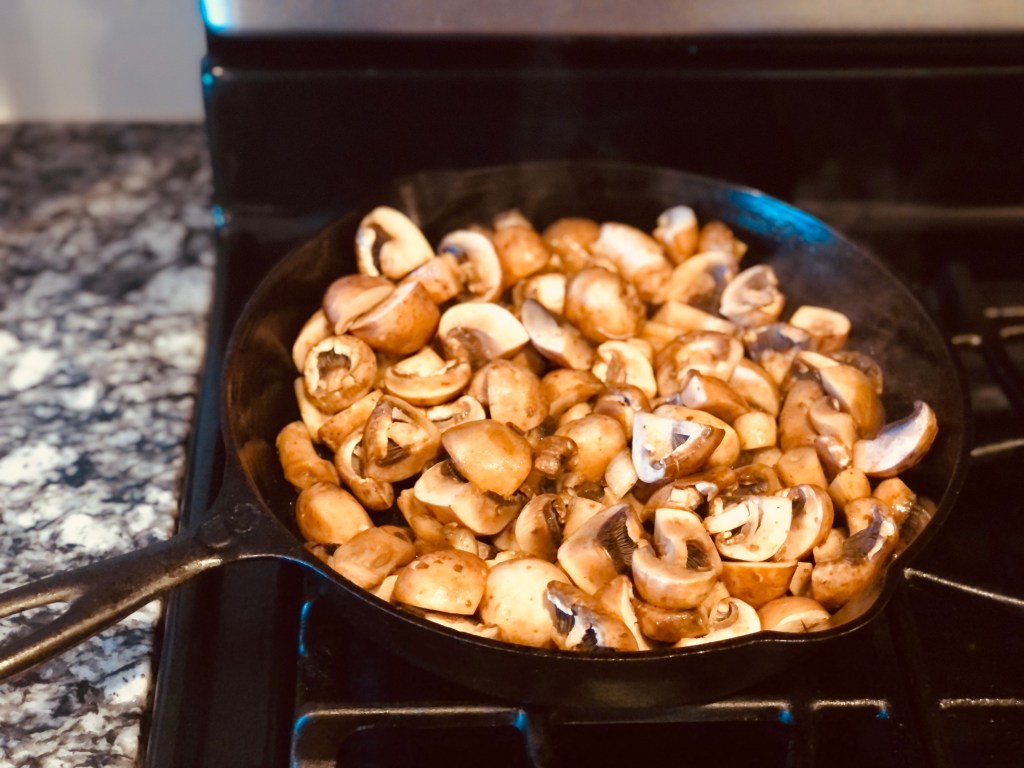
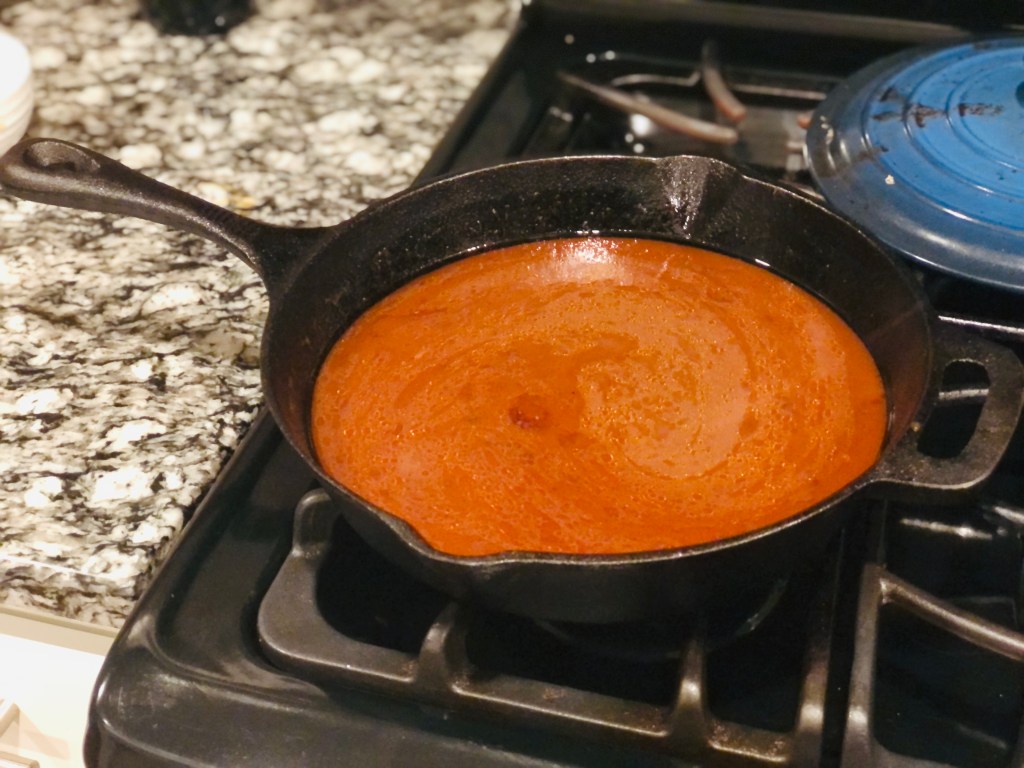
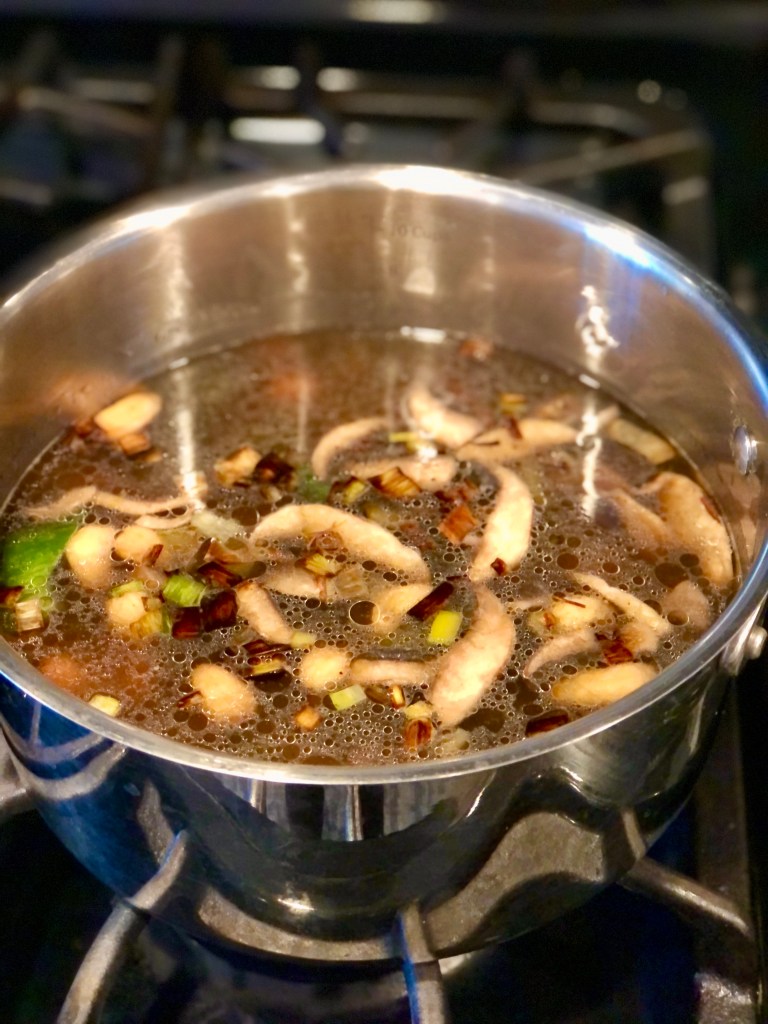
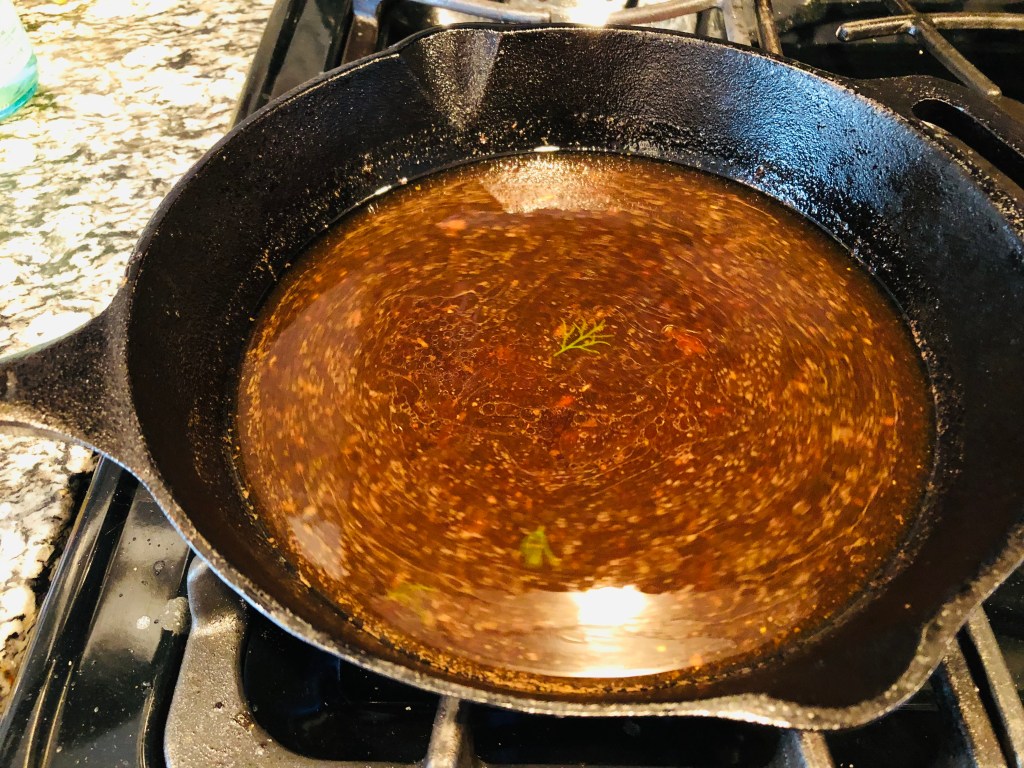
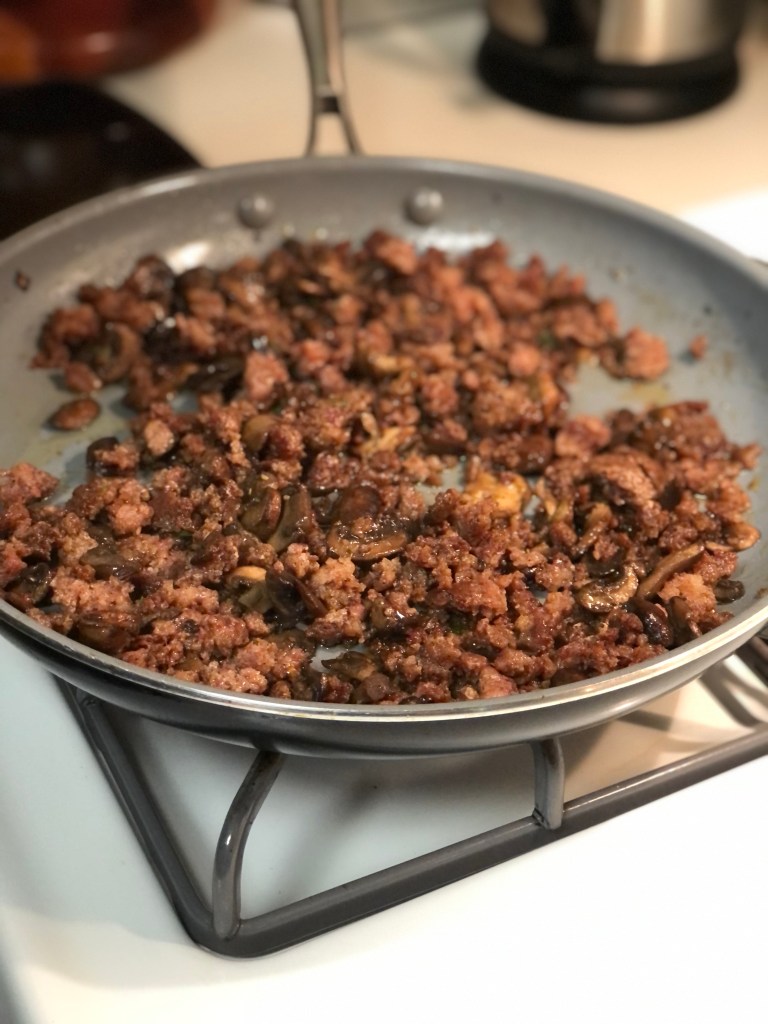
I wrapped my dough in plastic wrap and let it rest 30 minutes on the counter. After setting a timer, I started working on the sauce for the ravioli. This included some sautéed breakfast sausage and mushrooms. I started with the sausage, because that lined the pan with oil that is used to sauté the mushrooms. It’s not the most elegant looking topping, but the flavor pairing turned out amazing. Alex wrapped up the details of the sauce by adding thyme and butter, and I finished the ravioli. No salt was needed because the sausage already provided that.

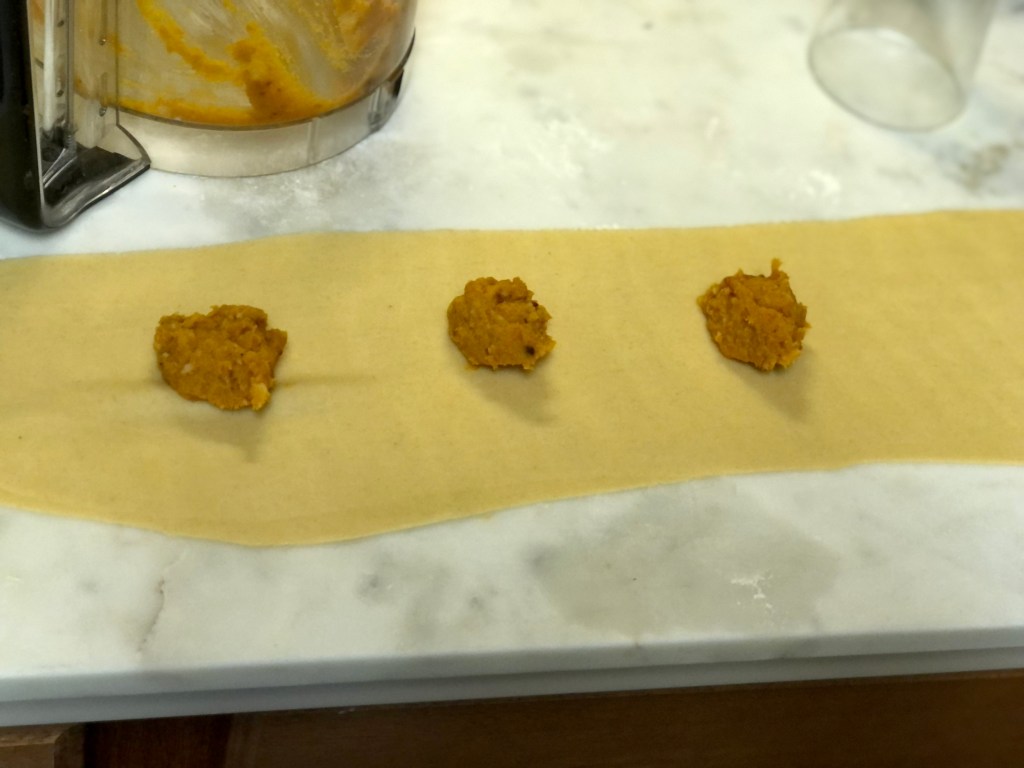
My favorite part of the “dough” process was using the pasta roller. I have a Kitchen-aid attachment for it, and as you pass the chunky dough through the rollers, it comes out thin, smooth and velvety on the other end. You end up with long stretchy strips of thin pasta dough upon which you add dollops of about 1/2 Tbs of filling, like so:

Place one strip on top of the other, and use whatever instrument you prefer to shape the ravioli. Personally, I used a glass because I don’t know where my ravioli press ended up in this house.

As you push through and make your little ravioli, you’ll have leftover trim pasta dough. Just repeat the process and push it through the pasta roller again. I ended up making approximately 16 ravioli. Aren’t they cute?

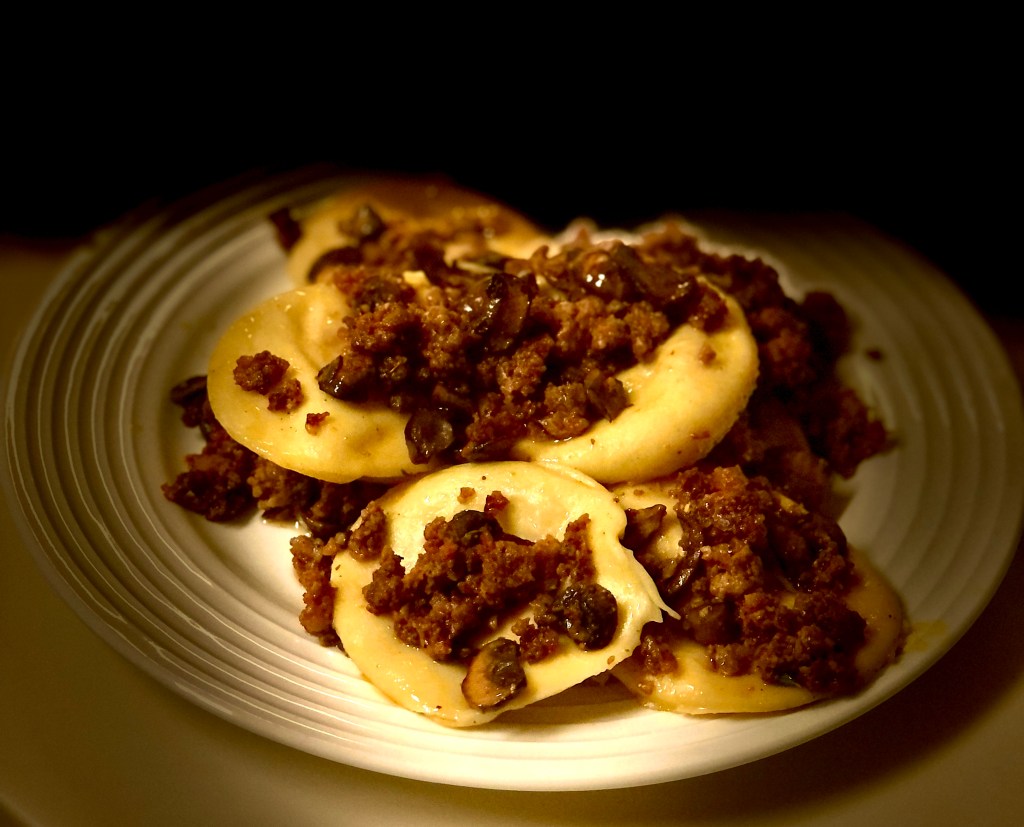
Place in boiling water for 30 seconds, strain and toss in toppings (or whatever sauce you prepared) and there you go! The tail end of this process is easy peasy and fast.
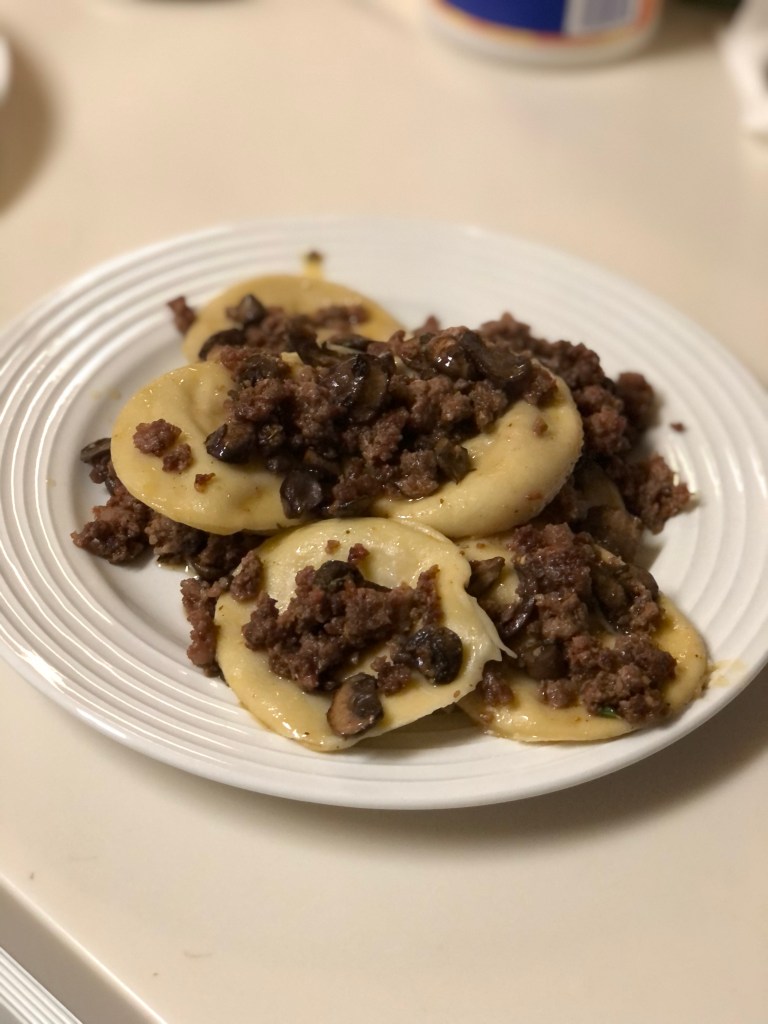
Taste test? YES.

The bouncy doughiness of the ravioli meshed so well with the velvety filling; the sweetness of the caramelized butternut was balanced out by the savory saltiness of the sausage and mushrooms. SO GOOD!

Do yourself a favor, and one weekend take the time to make the ravioli of your dreams. A heads up: it does take time so make sure you have the morning or afternoon to yourself for some healing and slow-max cooking. Allow yourself the time to enjoy the process: of getting dusty with flower, spreading your equipment all over the kitchen, taking up space, and letting your mind slowly re-center itself far, far away from stress and worries.

I wish you all the best, and talk to you soon ❤️🍁 Happy Fall.

Evelyne

Julia Child’s Boeuf Bourguignon

Dearest Readers,

Hello and welcome back into my kitchen for some cozy cooking 🙂 I’ve missed you! And hope you’ve all been well over the summer.

I recently found myself perusing a used bookstore looking for Christmas gifts and found a 1971 edition of Mastering the Art of French Cooking by Julia Child, Simone Beck, and Louisette Bertholle. It was a beautiful two-volume set and had all the vintage and pastel charm you’d expect. Merry Christmas… to me? So of course I bought it! And of course I made her famous boeuf bourguignon. And of course I had Julie & Julia flashbacks the whole time. Bon Appetite!

At first glance, this recipe seemed pretty straightforward. In true Julie Powell fashion, I dived straight in with unbridled optimism. For the occasion I decided to look for a good butcher in our area, and I did eventually find one in a small town about twenty minutes away that also sold wine. I came back that day with 3 LBS of quality lean stew meat and two bottles of Bordeaux. Below are some of the other ingredients that I used:

As you can see, there’s a big chunk of bacon; this is homemade bacon that my husband Alex cured and smoked, and it was such a great addition. Looking back, the one piece of advice I have (that Julia Child also had, I guess) is: don’t be afraid! You’ll be chucking things into boiling hot oil, and yes, it will spray everywhere. By the end of the recipe, I promise you won’t care anymore. You’ll be f e a r l e s s .

This recipe has plenty of steps and takes 4+ hours to complete. I recommend either making it the day before (it reheats really, really well) or making sure you have a good day ahead of you to prepare this. To start, cut your bacon into lardons or matchsticks. Boil them for ten minutes, remove, pat dry, and then briefly sauté in a dutch oven. Put the bacon to the side. Preheat your oven to 450 degrees!

After that, brown your beef on all sides. Remember to keep the temperature medium-high, so the meat browns quickly. One you’re done, add it to the bacon on the side.

Yep, it’s a lot of meat. This recipe serves 4-6 people so it’s perfect for a special dinner with family or friends. Once the meat is browned, sauté some onion and carrots in that same fat. If you need to add some oil, go ahead and do so.

Once the vegetables are sufficiently browned, return the meat and bacon into the dutch oven. Sprinkle in some seasoning (salt, pepper) and some flour, and then toss gently. To get a little delicious crust around the contents, place in the oven for 4 minutes, toss gently again, and put back in oven for another 4 minutes. Remove dutch oven and lower the temperature.

Now for the fun part! Add a whole bottle of full bodied red wine (it can be a Beaujolais, Bordeaux or Burgundy), and top that off with with some beef stock until the beef is covered. Throw in some tomato paste, garlic, thyme, and bay leaf, stir, and put back in oven for 3-4 hours.

In the meantime, you’re going to prepare 1 LB of mushrooms and 20~ small white onions.

I recommend starting with the onions. While the recipe mentions an enameled skillet, you can also do this in a cast iron. Add butter and oil to the pan, let that heat up well, and then toss in the white onions. Roll them around for 10 minutes, until they get brown on all sides. At this point, pour in some stock and add an herb bouquet (parsley, sage, thyme), cover, and let simmer for an hour at low heat. The result is delightfully sweet, caramelized onions that you will tempted to eat… like me 🙂 I ended up sneaking a few.

While the onions cook, start the mushrooms. In a cast iron, add butter and oil, and toss your mushrooms until they release all their moisture and start to brown.

Once the meat is done, pour the contents through a sieve over a saucepan. I separated the meat (which I put back into the dutch oven with the mushrooms and onions) from the sauces.

I let the sauce simmer a little bit, while skimming off the fat.

That looks so delicious! At this point, taste for seasoning and then pour over meat and vegetables.

And there you have it, 4 hours later!

You can serve this with egg noodles, potatoes or rice. It ended up tasting rich, warm, dense, and opulent and was very much appreciated by our friends (who went back for seconds). I’m glad I got to test the famous Beef Bourguignon! It’s also the perfect dish for a cold night in November, and can be great for meal prep as well. My final thoughts on it are that next time I’ll probably opt for some short cuts and use a crock pot, because it was truly a laborious dish.

Well dear friends, I hope you have a fulfilling and delicious weekend ahead! Till next time.

Hi everyone,

Thank you for stopping by and welcome to my cozy corner! I like to think of this website as a cozy corner on the internet where readers can enjoy a peaceful moment in my kitchen. I share my experiences, and try new recipes and restaurants. I hope you have fun with me along the way 🙂

Treat Yourself to a Salmon Fillet Dinner

Hello Dearest Readers,

Welcome back to my little cooking corner. Today, I’d like you to join me for a healthy recipe I found in Cook’s Illustrated, Sep & Oct 2022: Salmon Fillets with Ginger & Cider Glaze.

While salmon isn’t the first thing that comes to mind for the Fall, it’s such a great way to enrich our diets and provide us with Omega 3 fatty acids. These help with heart and artery health, and lower inflammation in the body, keeping us happy and healthy during the colder seasons (Cleveland Clinic).

I’ve always had a love/hate relationship with salmon if I’m being honest. The biggest problem for me was I could never find a way to make salmon appetizing- I would make it for health reasons, but I never could quite make it as yummy as mom would!

*Shout out to my mom, Rita, who is incredible*

So I’m thrilled to say this recipe really changed the game for me. I learned a lot, too. If you’ve found yourself in a similar predicament, this can help.

To start with, here are the ingredients some of which are collected in an iron skillet.

For best results, choose a middle cut that you can divide into 2 or 3 pieces. Once you cut the salmon in appropriate portions, you will proceed to place those pieces in a brine. This is the first thing I learned, and I’m excited to share it! First of all, what does a brine consist of? In our case, it’s some table salt and sugar dissolved in water. The salmon is then placed in the brine for 15 minutes. This makes such a difference in tenderness.

While the salmon sits in the brine, you can move on to making the glaze. Oh! And don’t forget to turn on your oven at 300 degrees.

For the glaze, I used apple cider, apple cider vinegar, soy sauce and ginger as my flavors and added cornstarch for thickness. If you have all the ingredients available on your counter space, this takes about 5 minutes including cooking time.

Please, please, please pat your salmon dry after removing from brine. You want to avoid moisture when you place those fillets on a heated and greased cast iron skillet (or any oven safe pan). Let your fillets brown on both sides and brush with some glaze.

Once that’s done, go ahead and take the skillet and move it to the oven and let bake for 10-15 minutes or until internal temperature is 125+ degrees.

Just look at ’em- those delicious little fillets.

When the fillets are done, go ahead and brush the remaining glaze on top. Plate with whatever side you prefer- me, I like rice and any kind of greens (and maybe kimchi).

Well friends, it was lovely to see you and glad you stopped by. I hope this experience could shed some light on preparing salmon in a delicious and easy way.

Have a lovely week ahead with delicious meals and with many happy moments. Till next time!

Evy

Falling Leaves & Mushroom Soup

Hello Dearest Readers,

It’s the coziest season of them all.

How do you stay warm and cozy in the Fall?

While I’m delighted that the seasons are changing, I also anticipate the need for sustained rituals to support good mental health throughout the colder days. One of these is lighting my favorite candle, listening to music, and making soup.

The soup I will be talking about today is the last recipe I’ll review from Susan Semenac’s The Market Chronicles. I chose to make the “Mushroom and Chestnut soup”.

Admittedly, I couldn’t find roasted chestnuts anywhere. So, I chose the next best thing– cashews. They’re often used in vegan recipes to create silky textures in salad dressings and sauces due to their high volume of fat. So I thought, why not give this a whirl. YOLO, as the ancient wisemen say.

Here are the ingredients I used:

The first step is chopping up all your veggies and setting aside.

At this point, you will sauté the celery, leek and mushrooms until tender and add a pinch of salt and pepper. I also added some sherry towards the end for flavor depth and let that evaporate.

Once your veggies are tender, add them to whatever stock you prefer (I chose homemade chicken stock) along with the cashews. I know adding nuts to soup sounds unconventional, but trust the process!

Bring to a boil and then simmer for 20 minutes.

Once the 20 minutes are up, go ahead and blend this in small batches. Be mindful that the consistency of the soup will depend on how much stock is added to the blender. If you want a thicker soup, like a velouté, use less stock.

In the end, plate and add toppings. I used leftover sautéed mushrooms, parsley, chives, and added a bit of cream. I think some parmesan cheese would go with this as well. The result is a silky soup that is very rich, filling, and tasty. I recommend blending well, as the nuts require more time to break down and become smooth.

This is the final result:

The one mistake I made was not blending enough. It ended up being a bit … chunky, for lack of better words. Hence, my recommendation earlier to blend, blend, and blend some more. Otherwise, this was delightful. I can see it being the perfect meal for a cold evening. It’s adequate especially if you are lactose intolerant or vegetarian/vegan.

Well, my friends, I hope you enjoyed this post. I wish you a happy and joyful weekend & week ahead.

Evy

A Little Slice of Cherry Cobbler

Hello dearest readers,

I hope you’ve been doing well. This past year has been so fun and busy for us as Alex and I got married! It’s been an absolute whirlwind of happiness, change, emotions running high, travel for the first time in 2+ years and much more.

But I’m back! I chose to re-open the blog with a classic: the cherry cobbler. This might surprise some of you, but this is my first time making it… and eating it, now that I think about it. And as a true completionist, I picked up where I left off last year by reviewing Susan Semenac’s Market Chronicles. The recipe seemed very simple and fast, which was perfect for the amount of effort I was willing to spend.

These are the ingredients:

The quality of cherries you use is completely up to you. The recipe called for fresh sour cherries, which apparently are hard to find. I chose to go with frozen sweet cherries instead. I wasn’t kidding about low amounts of effort :D. But if I’m being entirely truthful, part of me wanted to see what would happen if I opted for convenience over freshness. I’m sure there’s a difference, but *spoiler*, convenience doesn’t taste bad at all.

The first step is always TURNING ON YOUR OVEN before you start. You want your oven at temp by the time everything is ready to be baked. I learned that the hard way time and time again. Next, toss the cherries in cornstarch and sugar. If you use sweet cherries, remember to minimize sugar!

Let those sit for a little bit.

Then, create your batter by mixing butter and sugar, adding an egg, buttermilk, flour, and baking powder and set aside. Toss the cherries into a greased 10″ cast iron pan (or 13″x 9″ baking dish) and add batter on top in sloppy spoonfuls. You want some fruit peeping out.

I later learned there are different ways to top a cherry cobbler. The method I used created a more “doughy”, less sweet experience. Others might prefer a sweeter, crunchier topping like a crumble pie. I let it bake for approximately 45 minutes, until the top turned golden and the fruit was bubbling. For additional garnish and flavor, ice cream is recommended.

Overall, I thought it was pretty good. The reviews from others were positive and there were some who went in for seconds. I was very flattered- I brought this for a family cookout, so the stakes were high! From what I can tell, the recipe itself is accurate: the ingredients and measurements work well, as do the instructions. I give this a 5 out of 5!

Anyways friends, I hope you enjoy the rest of your week. Till next time!

Lots of love,

Evy

A Little Twist: Blue Chips

Hello friends,

The holidays are upon us, and what better way to start a dinner party with some colorful, delicious snacks.

Blue (or maybe purple?) potatoes are a colorful twist on fried potato chips, and can be seasoned with pretty much anything you prefer. I followed recommendations of the recipe itself, which is one of the Fall recipes of Susan Semenak’s “Market Chronicles”.

(Link for the book is below)

This is what blue potatoes look like:

Pretty neat, huh?

I sliced them with a mandolin and let soak for about half an hour to eliminate extra starch. Once the frying oil reached 375 degrees, I slowly added the slices in small batches and waited until they turned a light, crispy brown.

Once placed on a napkin to drain excess oil, and while hot, I added a pinch of salt, black pepper and rosemary.

There you go! Blue chips. It’s an easy way to make a snack that many can enjoy.

Speaking of easy, delicious snacks: have you ever tried fried tortilla chips?

Or even better… fried habanero infused tortilla chips?!

Because you should.

These are the ingredients.

In all seriousness, regular flour tortilla chips are equally delicious. It’s our go-to for a quick dinner starter, especially if we have leftover tortillas that we don’t know what to do with.

Whatever the type of tortilla you choose, cut them into slices and fry them in a deep pan, at 375 degrees.

I flavored them with a pinch of salt, Old Bay, and some sage. They were served with buffalo chicken dip, and boy, were they excellent! Crispy and a touch of spicy.

Well, friends, I hope you have a great week ahead! I hope you can try this at one point and enjoy as much as we did.

Much love,

Evy

Link to Susan Semenak’s Market Chronicles: Stories and Recipes from Montreal’s Marché Jean-Talon

https://www.editions-cardinal.ca/livres/cuisine/market-chronicles-stories-and-recipes-from-montreals-marche-jean-talon-15042

Light, Fluffy, and Brittle: The Blueberry Pavlova

Hello, dear readers.

This week, I tackled something sweet and delicious– the blueberry pavlova.
I’ve never eaten pavlova before and had no idea what it would taste like or feel like in terms of consistency. In all the photos I had seen, it looked like a cloud of delicious mystery.

For those who didn’t know (like myself), the pavlova is a dish that was first spotted in Australia and New Zealand in the early 1920’s. The “pavlova” is likely named after Russian ballerina Anna Pavlova, who was touring in the country at that time. It is a light dessert that has a brittle crust, and is usually topped with whipped cream and fruit.
The one we will be making today will be topped with blueberries.

The ingredients needed are below:

Now, pavlova is basically baked meringue.
In turn, meringue is whipped egg whites, with sugar and cream of tartar, until you get “stiff peaks”. I remember seeing meringue everywhere, from cooking shows to fancy pastry shops, and thinking “that must be a headache of a recipe.”
I have since changed my mind.

Meringue is actually very easy to make. The key? Room Temperature Eggs. And I mean it, people. Take your eggs out at half an hour before starting the process. If your eggs are fresh out of fridge, you will fail. (If you’re unsure of what “Room Temperature” actually is– it is between 65-75 degrees Fahrenheit.)

I learned this the hard way.
It was early evening; Alex was beginning to prepare dinner and I was feeling quite impatient, even though Susan Semenac, the author of the recipe, clearly outlined the singular requirement.

What ended up happening?
I dumped the egg whites into the food processor, put it on medium low speed, and waited.
And waited.
And waited.
And then nothing– it was just liquid egg whites. How could this be?!
I finally surrendered and let the egg whites reach room temperature.

Guess what: it worked!
Another change I made (which Alex recommended) was to increase the speed. Medium-low will not get you there.

I got very excited when I achieved the famous “stiff peaks”:

Once you get this result (and after you do your victory dance), shape the beautiful meringue into a circular mound on a baking sheet. Make sure to dig a little pocket in the middle, like so:

You then will bake it at a low temperature, around 225 degrees Fahrenheit, for 1 hour or until you see a light crispiness and browning.

Once out of the oven, it will look like this:

Once cooled, you can add the whipped cream and fruits!

I say this without trace of exaggeration: this dessert is exceedingly sweet and amazing.
Can you recall the taste and consistency of cotton candy? How you feel the crisp, sweet sugar melt on your tongue? Combine this subtle crisp with a fluffy internal texture equal to marshmallow fluff, and whapow! You have pavlova.
The whipped cream and fresh fruit adds layers of flavor to the otherwise tasteless crunch.

What makes this ideal for summer is the weightless, cloud-like sweetness which can be paired with fruits of the season– peaches, blueberries, strawberries… the possibilities are endless!

I think the recipe itself is, for the most part, accurate.
The one criticism I have is in regards to the times allocated for the baking: while recipe says 45 minutes, the meringue was still very soft and rubbery at that point. I would replace it with at least 1 hour as mentioned above.

I hope you enjoyed this post and can learn from my mistakes!
Have a wonderful rest of your weekend, friends, and much love.

It’s September: Cheers, with Sgroppino!

Hello, dearest readers.

I hope this week has been good to you so far.
Summer is coming to a close, and as promised, I will hop right into reviewing the Summer chapter of Susan Semenak’s Market Chronicles: Stories & Recipes from Montréal’s Marché Jean-Talon.

Some of the featured ingredients of the season are strawberries, tomatoes, citrus fruits, lobster, cherries, corn, and more. The recipe we will be making today is Sgroppino.

Sgroppino is an after-dinner drink. It is a cool, frothy shot of lemon sorbet whipped with Prosecco and Vodka (and sometimes egg whites to add volume). It is then topped with either a ribbon of lemon peel or mint for garnish.

The ingredients are below:

I made an alcohol-free version of this by substituting alcohol with flavored carbonated water. However, for the purposes of accuracy, the ingredients called for are lemon sorbet, Prosecco (or any sparkling white wine), vodka, and lemons.

That being said, who has lemon sorbet hanging out in their freezer? Not me.
Thank God we have the Internet.

I navigated to my one of my favorite no-nonsense recipe websites (Allrecipes.com) for assistance, and voilà: Lemon Sorbet.

https://www.allrecipes.com/recipe/77853/lemon-sorbet/

In essence, lemon syrup is mixed with carbonated water and lemon juice. The mixture is put in the freezer, where it is whipped every hour for about 4/5 hours.

This is what the mixture looked like after two hours:

This is what it looked like after 3 hours:

And this is what it looked like overnight:

It grew by a full cup! That’s why they recommend putting the mixture in a tall canister.

Once my sorbet was ready, I whipped it with some citrus-flavored Perrier carbonated water and topped it with a mint leaf. The final results were not disappointing: it was tart, refreshing, sweet, bubbly and light– with alcohol, I imagine it is even more divine.

The recipe itself is not original as Sgroppino is a popular Venetian drink, and I wish the author had included a sorbet recipe for the reader’s convenience as well. That being said, the amounts and ingredients are accurate, and the recipe is a great addition to the Summer chapter!

Have a wonderful rest of your week, friends, and may the Sgroppino lighten the remaining days of your Summer.

Lots of love,
Evy.

The Journey Begins: Maple Soy Duck Breast

Hello, dearest readers.

I recently decided to start working through, and reviewing, the many cookbooks I have.
The first book I’m going with is Market Chronicles: Stories and Recipes from Montréal’s Marché Jean Talon, by Susan Semenak. I bought it in the market’s bookstore– yep, they have a bookstore– when I visited Montréal, Canada, in 2018.

To give you an idea of how remarkable this open-air marketplace is, here is how Semenak describes it:

“Ever since the market’s beginnings in the early 1930’s, waves of immigrants to Montréal from Italy, Ireland, Poland and Ukraine, then Portugal and Greece, Morocco and Tunisia, El Salvador, Vietnam, Mexico, Lebanon, and Haiti — and countless points in between– have come here to find inexpensive fruits and vegetables. This is where the city’s Italians come for their carloads of of plum tomatoes when it’s time to ‘make the sauce’ and where Muslims from Tunisia, Algeria and Morocco gravitate on Ramadan evening in search of sweet, sticky chebakia to break the fast. Mexicans hankering for authentic barbacoa follow their noses to Javier Muñoz taqueria on Saturday mornings, when the smell of spiced lamb barbecued in clay-lined pits fills the air. Around the market’s perimeter, Italian bakers and grocers, Latino butchers, and hole-in-the-wall tonkinoise soup and shish taouk joints lend their world beat to the vibe.”

The cookbook is organized by seasons, and for each season there are highlighted produce and recipes. Oh, how I love it!

I dived straight in, not realizing that it starts with Spring (so not aligned with the current season). But that’s okay! I will skip to Summer next post and get back on track. In the meantime, let’s roll with what we have.
The first ingredient of Spring is *drumroll* — Maple Syrup.

One of the uses suggested for this ingredient was Maple Soy Duck Breast (on a bed of sautéed ginger and scallions). Very fancy.
Now, the reason why I got so excited is my fiancé, Alex, loves duck and usually only gets it when we eat out. I wanted to surprise him.

Duck breast tends to be hard to find and quite expensive honestly. Luckily, I found some at Wegman’s for about sixteen dollars for a pound-and-a-half. Needless to say, I opted for only one breast.

These are the major ingredients I used for this dish:


The maple syrup is used alongside soy sauce and ginger to create a marinade for the duck breast, which is scored (fat side only) and coated with a peppercorn rub beforehand. Once placed in the marinade, it is refrigerated for at least 4 hours. Easy day.

After 4 hours or so, you want to remove the duck breast from the marinade and pan-fry it. The outside becomes brown and crispy.

Once this was achieved, I removed the duck breast from the stovetop and placed into the oven for about half an hour, or until the internal temperature hit 170 degrees.

Luckily, I didn’t throw out the frying oil! Some of it is set aside and used to make a finishing glaze. I did this by adding it to the remaining marinade liquid, along with a touch of vinegar, and white wine. No need for additional salt as there is a lot of soy sauce.

The glaze then needs to be reduced for approximately 15 minutes, or until it becomes thick and syrupy.

While the duck was in the oven, I sautéed the ginger and scallions and built our side salad.

And voilà, after about half an hour, the duck was looking pretty great.

I sliced the duck and laid it atop a bed of scallions and ginger. Then, I added the glaze. The sides were rice and salad. Here is the final result!

The salad is not represented as it didn’t fit on the plate. We were also too hungry to patiently and thoughtfully build a montage of dishes.

Now for the review.

Turns out, I don’t like duck. Womp, womp.
That’s not the recipe’s fault, though! I just don’t like the taste of duck meat. That being said, the meal was a solid win– Alex loved it! The slightly crispy scallions and ginger paired beautifully with the glaze, and emphasized the main flavor notes of the dish. The soy sauce and maple syrup danced together in making a sweet, delicious umami, which slowly ran through the rice. It was very tasty.

Now, here is what I have to say about the recipe itself.
I think the flavors highlighted are pretty amazing, and objectively pair well with duck. The quantities listed are accurate and go well together. One could also say, they “pan” out — badum tss.

It’s okay. I’ll let myself out.

Jokes aside, the recipe works well flavor-wise and quantity-wise.
The only criticism I have is in regards to times and temperatures. The recommended time and temperature for the duck to stay in the oven was 8-10 minutes at 325 degrees. Wrong.

I would replace that with at least 20-25 minutes at 350 degrees. The ducks internal temperature needs to be at 170 degrees, and breast meat tends to be pretty thick and isolated with a layer of fat.

That being said, I thoroughly enjoyed making this. I enjoyed the process of going grocery shopping and preparing the meat, and learning that duck meat wasn’t for me. This really surprised me, by the way!

Well, dear readers, I hope you enjoyed reading this. I’ll see you next time with an appropriately themed summer dish! Much love, Evelyne.